When you enter information into an online form, do you check for a padlock in your address bar? Would you have done the same 3 years ago? If there’s no padlock in your browser address bar, that means your data isn’t being transferred securely (in fact even if there is a padlock, it might still not be transferred securely… but that’s a different story). This means that anyone on the route between your computer and the machine hosting the website you’re sending data to could see said data.
In the post-Snowden world that we live in, I think it’s fair to say that people in general are more aware of the information that they’re sharing online. But as a website visitor, you have very little choice as to whether your favourite website offers a secure version or not, which is why, I guess, Google have started to use the presence of a secure version of a website in their rankings – to encourage web developers to give their visitors a secure browsing experience. Obviously banks provide a secure version by default, as do most social networks and shopping sites, but small businesses may not and I think this is the group that Google are trying to appeal to with this move.
Excitingly, the move has coincided with Let’s Encrypt (an American charity working to “reduce financial, technological, and education barriers to secure communication over the Internet”) moving to public beta, and they’re offering free HTTPS certificates, which allow you to create a secure version of your site. As our hosting company, Dreamhost, have partnered with Let’s Encrypt there was no reason for us not to transition this site (plus our personal site and church site) across to secure versions, and it was much easier than I thought it would be for each domain:
- Register for the free certificate through Let’s Encrypt and install the certificate on the site
Dreamhost made this easy for me and it was a one-click action for each site - Check that visiting https://<domain name> works
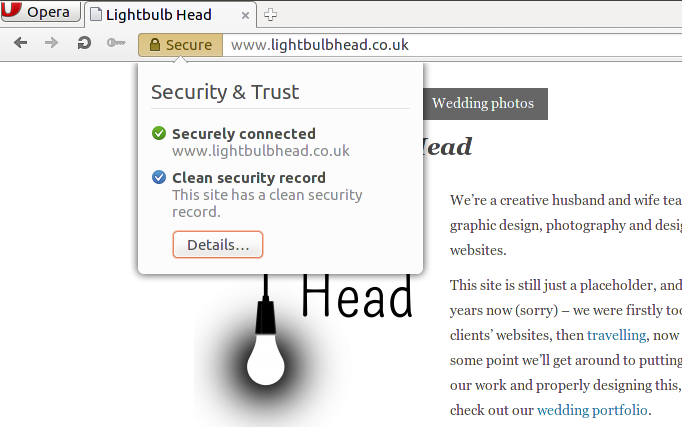
At this stage on each site, I got a padlock in the address bar, but with validation errors, as not all of the links within the site were referencing the secure version – only those which were relative links - Fix all of the links
Now this was the fun part – trying to fix all of the links. As all of the sites are WordPress sites, I went through the following stages:- Set the WordPress URL and Site URL in the admin panel to be https://<domain name>
- Go through my theme files and replace full URLs with relative URLs (embarrassingly I found quite a few, which were very sloppy of me – the newer bits of the sites were better though, using “bloginfo(‘stylesheet_url’)” and “bloginfo(‘template_url’)” properly)
- Fix links within content. Now I really didn’t want to add another WordPress plugin to each site to create redirects, which is why I was happy when I came across some handy information at CSS-tricks.com (step 6), which I nabbed and implemented. I was unhappy I hadn’t come across it sooner in the process!
- Set it so that visitors are directed to the HTTPS version of the site by default
I added the following to the top of my .htaccess file for each site:
RewriteEngine On

RewriteCond %{HTTPS} !=on

RewriteRule ^(.*)$ https://%{HTTP_HOST}%{REQUEST_URI} [L,R=301]
- Tell Google
The final step was to add the HTTPS version of each site as a new “property” in the Google Webmaster Search Console
All in all, about half an hour per site, once I’d done a bit of faffing around.
Be safe online, kids.