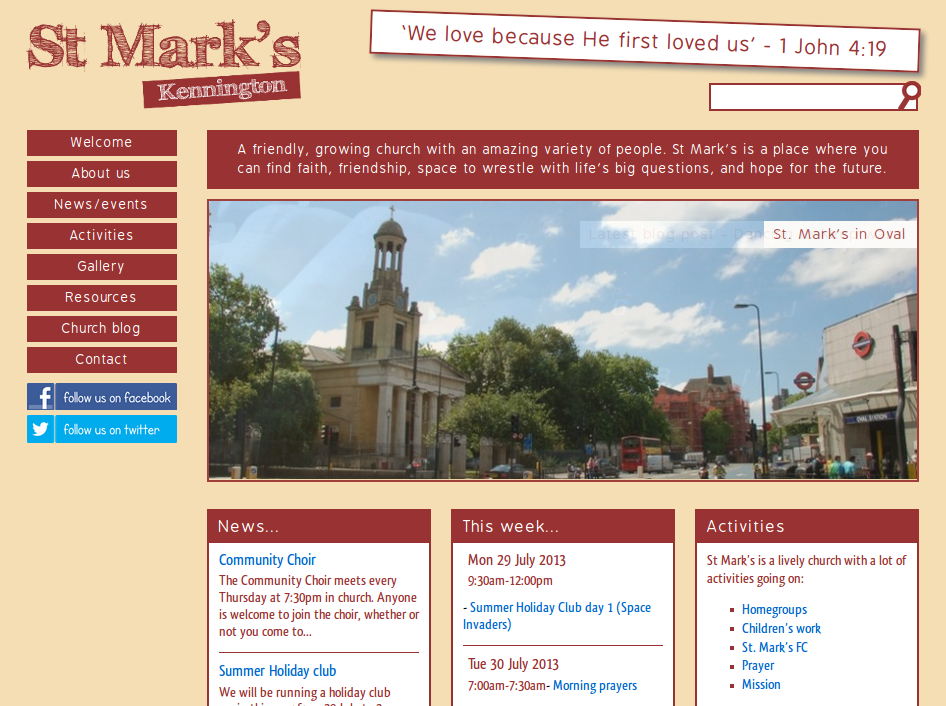
Over the last 2 and a half years I have been cultivating the online presence of the church we go to; St. Mark’s Kennington. Although it’s grown and changed fairly organically, this week marks (pardon the pun) the date that the website is finally at a level where both Kiri and I are happy with it in terms of functionality and design. Obviously there’s still more that we’d like to do to it (for example optimising it for mobile, improving some of the photos), but for now we’re happy.

Our journey with the website started with a familiar story – a church website that was ok…but which needed a lot of regular attention to keep it up to date. The first step was to get the front page changed so that it showed activities that were going on this week, but without someone having to update the site each week. So with a bit of help from the Google Calendar Zend framework I wrote some PHP to display events from the church calendar that were coming up in the next week, then extended that so that upcoming non-recurring events could be shown as dates that people may wish to note in their diary.
From there, it was clear that it would be useful for the weekly news sheet to be made available on the website. By this time, I’d transitioned the site across to use WordPress, so I created a custom post type of “News Item” to allow our church administrator to add and remove news items easily. This was followed shortly by a custom post type of “Sermon” so that sermons could be easily uploaded to the site.
As I had taken on managing the web content as well, I started blogging a bit and thought it would be good if we had a social media presence, so I created a Facebook page and Twitter account. I hooked these up to the main website and the event calendar using IFTTT so that there would be automatic updates on the social media accounts when a news item was added, a sermon uploaded, a blog post written or when it was an hour before an event scheduled in the calendar.
Photos were a little lacking on the site and as a photographer, this made me a little unhappy, so with the help of the NextGEN Gallery plugin I added galleries of pictures of the church, church hall and ministry leaders. This was then extended to give the option to add pictures of events as and when they happened.
I was pretty happy with the functionality by now, but it didn’t look great. Enter Kiri. Kiri took what I’d created and wrapped it in a better design, encouraging me to tweak some of the functionality where it could be better. This included the addition of “highlights” on the front page of the site to replace an image carousel – functionality that allows the church to highlight important things going on in the life of the church.
So that’s where we are at this moment. As Kiri and I will be leaving St. Mark’s (and London) shortly, we’ll be handing over the management of the content of the site to someone else, but we intend to remain fully involved in the running of the site from technical and design perspectives.